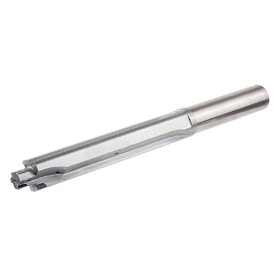
A detailed explanation of "Machining Hole Dimensions and Surface Roughness" and "Roundness and Cylindricity" using diagrams!
Here is an introduction to the differences between reamers and drills. First, regarding "machined hole dimensions and surface roughness," for a carbide reamer with a diameter of φ6.0, the machined hole dimensions are φ5.998 to 6.000mm (10 holes), which provides a good fit. In the case of a carbide-coated drill with a diameter of φ6.0mm, the machined hole dimensions are φ5.980 to 6.000mm (10 holes). We also provide comparative data on "roundness and cylindricity." Detailed explanations with diagrams are available in the PDF. Please download it for your reference. 【Machined Hole Dimensions and Surface Roughness】 ■ Carbide Reamer φ6.0 - Machined hole dimensions: φ5.998 to 6.000mm (10 holes) - Hole diameter difference: 2μm, surface roughness: Rz1.6μm ■ Carbide-Coated Drill φ6.0mm - Machined hole dimensions: φ5.980 to 6.000mm (10 holes) - Hole diameter difference: 20μm, surface roughness: Rz6.2μm *For more details, please refer to the PDF document or feel free to contact us.
Inquire About This Product
basic information
【Roundness and Cylindricity】 ■ Carbide Reamer φ6.0mm ・ Roundness: 2.2μm ・ Cylindricity: 3.6μm ■ Carbide Coated Drill φ6.0mm ・ Roundness: 16.3μm ・ Cylindricity: 34.7μm *For more details, please refer to the PDF document or feel free to contact us.
Price range
Delivery Time
Applications/Examples of results
For more details, please refer to the PDF document or feel free to contact us.
catalog(1)
Download All CatalogsCompany information


![[Comprehensive Catalog] Appletech's Automatic Lathes and Precision Turning Tools](https://image.mono.ipros.com/public/product/image/789/2000196717/IPROS4397330924169834651.JPG?w=280&h=280)


