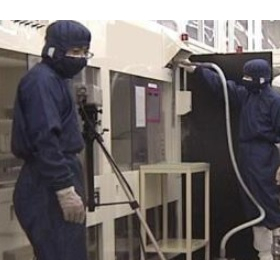
3D scanning of a melting furnace using FOCUS! Introducing a case study of color comparison measurement.
Here is a case study of a business trip for measurement at a major materials manufacturer located in Aichi Prefecture. The walls and floors of the furnace can deform by several hundred millimeters due to high temperatures and the accumulation of residual materials, which can affect manufacturing. Therefore, a 3D scan was conducted to later verify the amount of deformation and damaged areas, and to consider repair locations and methods. The data obtained from the 3D scan was aligned with CAD data, and discrepancies were analyzed through color comparison. Ultimately, we submitted a report that included the comparison data along with the 3D scan data. [Case Overview] ■ Measurement Method: 3D scanning of the melting furnace using FOCUS - color comparison ■ Work Size: 2m × 5m × 2m ■ Measurement Days: 1 day *For more details, please refer to the related links or feel free to contact us.
Inquire About This Product
basic information
For more details, please refer to the related links or feel free to contact us.
Price range
Delivery Time
Applications/Examples of results
For more details, please refer to the related links or feel free to contact us.
Company information
The Measurement Division of Sawatec Co., Ltd. conducts high-precision three-dimensional measurements at locations specified by customers across the country using portable measuring instruments. Even if you have previously given up on measurements being possible, Sawatec's measurements can provide a solution. - Measurements can be taken up to 80 meters. - Since the measuring instruments are portable, there is no need to move the objects being measured. Please consider requesting Sawatec, which has the number one measurement track record in the industry.


![[Case Study of On-Site Measurement] Three-Dimensional Measurement of Wind Turbine Components](https://image.mono.ipros.com/public/product/image/f94/2000307287/IPROS9071515904130430926.jpg?w=280&h=280)

![[Case Study of On-Site Measurement] 3D Scanning of a Thermal Power Plant](https://image.mono.ipros.com/public/product/image/aec/2001157740/IPROS21382399245848685215.png?w=280&h=280)
![[Business Trip Measurement Case] 3D Scanning Inside the Factory <CAD Data Conversion>](https://image.mono.ipros.com/public/product/image/2fd/2001157825/IPROS55955576267535683078.png?w=280&h=280)


![High-frequency viscoelastic measurement service [Quantification and problem solving]](https://image.mono.ipros.com/public/product/image/26c/2001208260/IPROS89940886869265025029.png?w=280&h=280)

![[Cause Analysis] Measurement of Power Quality: "Unable to Generate Solar Power / Low Power Generation"](https://image.mono.ipros.com/public/product/image/0d6/2000911534/IPROS28892993356049671615.jpeg?w=280&h=280)


