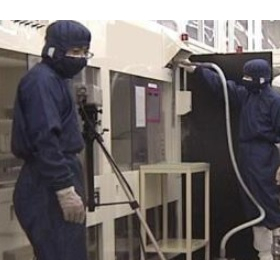
We will match the inspection materials with the 3D data provided by the customer and check for differences in shape, thickness, and other aspects.
We would like to introduce the "non-contact measurement" conducted by Ito Mokugata Seisakusho. Using a non-contact measuring device, we measure the material and output it as point cloud data. We match the inspection material with the 3D data provided by the customer to check for differences in shape, thickness, and other aspects. For the 3D data, areas where the material is thick are shown in red, while areas that are thin are shown in blue, allowing for easy visual differentiation by changing colors based on the range. 【Features】 ■ Overlay measurement of data on a computer ■ Confirmation of misalignment, presence of shape, distortion, thickness, etc., through color and numerical values *For more details, please refer to the PDF document or feel free to contact us.
Inquire About This Product
basic information
【Measurement Process】 1. Measure the material with a non-contact measuring device and output the point cloud data. 2. Create STL data from the point cloud data using processing software. 3. Overlay the STL data with the provided 3D data and color the distribution using a color map. 4. Determine the range (e.g., basic tolerance of ±0.25 in the drawing). *For more details, please refer to the PDF document or feel free to contact us.
Price range
Delivery Time
Applications/Examples of results
For more details, please refer to the PDF document or feel free to contact us.
catalog(1)
Download All CatalogsCompany information
Ito Wood Pattern Manufacturing Co., Ltd. produces high-precision wooden patterns with short lead times, thanks to the skilled techniques passed down since its founding. With years of accumulated experience, we can also propose appropriate plans. Even after the completion of the molds, we take pride in our thorough quality assurance through inspections using trial castings. Please feel free to contact us if you have any requests.


![[Material Inspection] Introduced non-contact measuring devices to verify the accuracy of cast products.](https://image.mono.ipros.com/public/product/image/c11/2001208132/IPROS969959714867721998.JPG?w=280&h=280)


